Summary
Quick Guide to Making Montessori Letters
Create professional-quality Montessori letters in any language using the LinguWhee letter templates and streamlined process.
- 📥 Get the template: Purchase and download the LinguWhee letter template that corresponds to your desired alphabet and handedness (right-handed child or left-handed child)
- 🖨️ Print: on A4 label paper
- ✂️ Cut & Apply: Cut along guidelines and apply labels to wooden plaques or cardboard panels
- ✏️ Trace: Use glitter glue pens to trace letters
- 🎉 Use: Let dry and start learning!
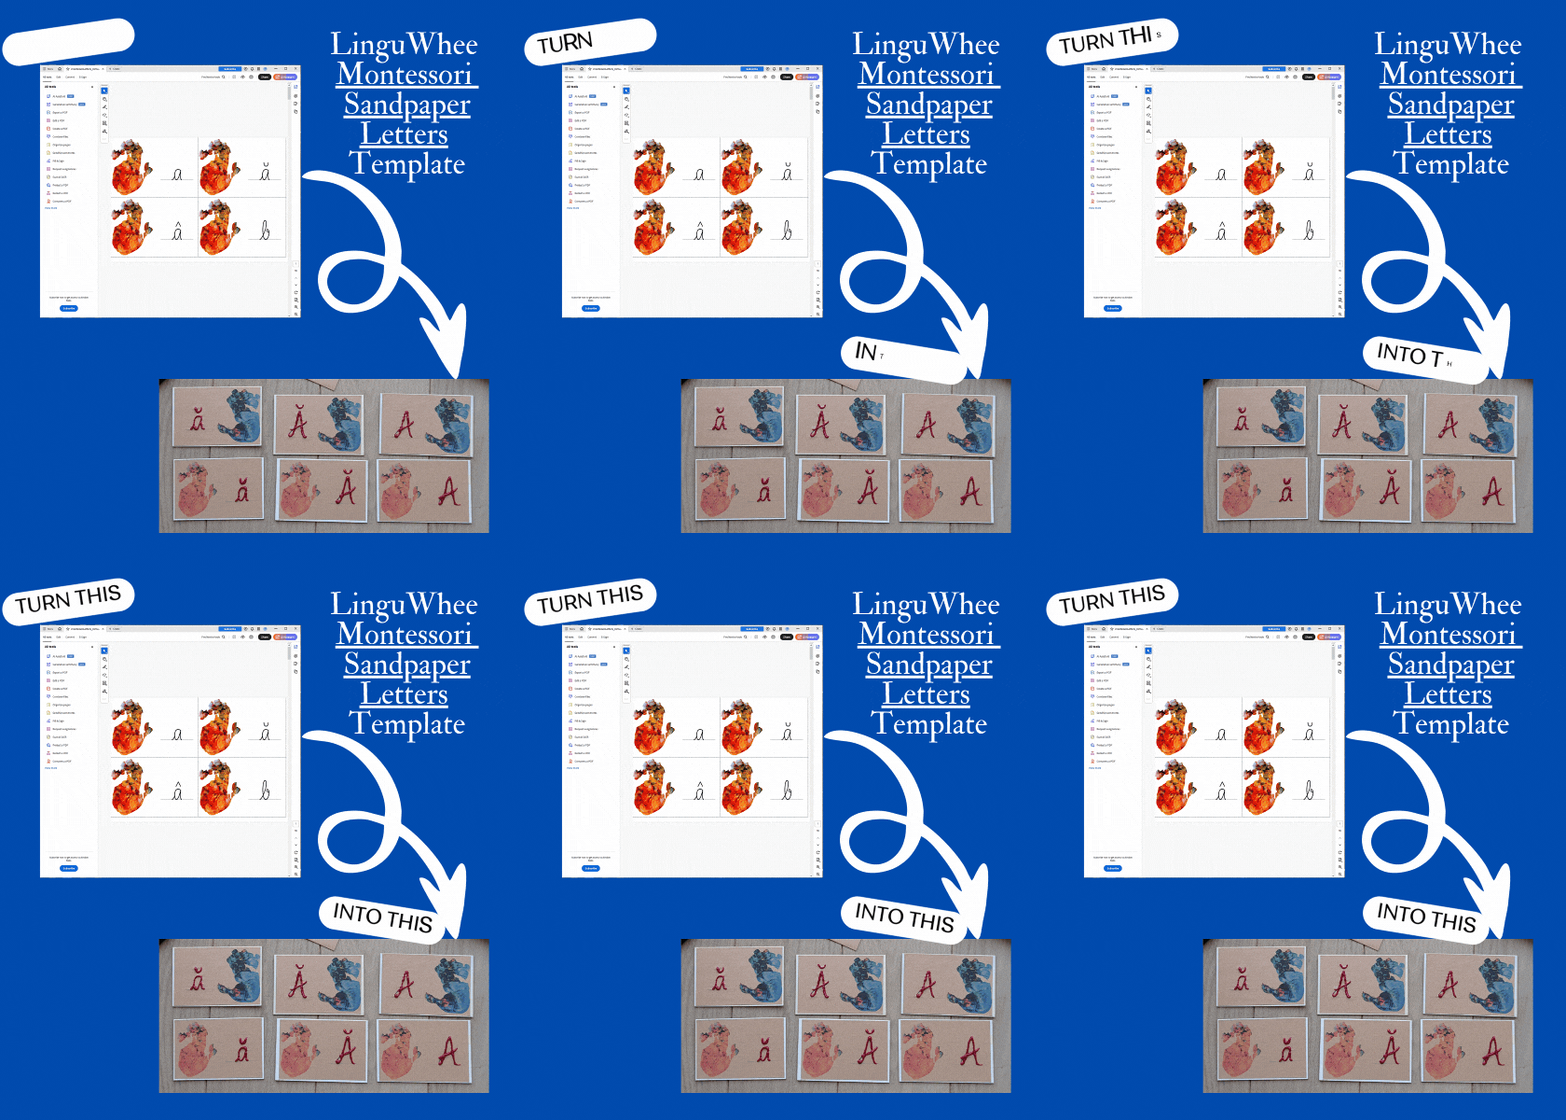
Use the steps above to turn your LinguWhee Letter template into the final product,
What are Montessori Sandpaper Letters
Maria Montessori was a stickler for details: she studied, iterated, and designed the learning environment and materials in a very specific way. Her Sandpaper Letters are a great example of this attention to detail.
Traditionally, these are sets of color-coded wood panels, each displaying one letter or n-gram (also known as phonogram: letter combination representing a single sound). The letters are made of sandpaper, providing a multi-sensory learning experience: feeling the letter, saying the sounds, handling the letter board, and noticing the colors. Consonants have pink backgrounds, vowels are blue, and phonograms are green. Maria Montessori favored cursive, believing the letter differences are clearer in cursive (think of printed vs. cursive 'b' and 'd'). The panels themselves vary in shape – taller for letters with ascenders (like 'b') or descenders (like 'p'), shorter and wider for letters like 'm' - adding to the sensory experience. Traditional panels also offset the letter to the right, allowing children to hold the panel with their left hand while tracing with their right, mimicking how they would hold a sheet of paper.
Teaching the Letters
It's common for adults to (1) teach letters alphabetically and (2) teach lowercase and uppercase together. This isn't ideal. Lowercase letters are more frequent in text. Certain sounds are also more common than others in any given language.
Lowercase letters are taught first, with capitals introduced later.
You'll often see advice to teach letters in groups, like 'first teach c, m, a, t; then teach s, r, i, p'. This breaks down the alphabet, teaches common sounds first, and separates similar sounds to reduce confusion. Remember that these groupings are typically designed for the English language. Adapt them for your specific language!
The "teach most practical first" approach allows more immediate practice and adaptability. In a world saturated with printed text, there's an argument for teaching printed lowercase letters first, and some Montessori schools do this. However, there's a trade-off between what's common and how easily letters are differentiated. Personally, I prioritize differentiating letters and associating the correct sound to the symbol when introducing them, so I chose cursive first.
Sandpaper letters are introduced using the "3-period lesson" which would take too long to explain here. But check out the video below which does a great job at showing this process, for English speakers. Pay close attention to the letter panels themselves - they are the traditional Montessori panels with all the features, except they are for printed letters.
Introducing Montessori Sandpaper Letters with the 3-period lesson.
Why
Why Did I Make This Product?
I wanted ready-made Montessori Sandpaper Letters in Romanian (one of our home languages) that met the essential criteria of the Montessori philosophy. The experience was surprisingly frustrating!
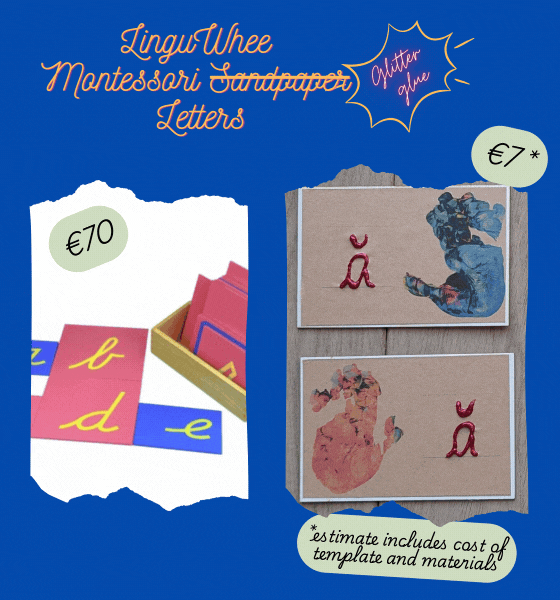
- Costly Investment: Ready-made sets are expensive, especially since lowercase letters, uppercase letters, and phonograms are often sold separately.
- Limited Language Support: Sets for alphabets beyond English are rare, and often only available with printed letters.
- Left-Handed Learners Left Out: Many sets lack space for holding the panel, and when they do, the space is always on the left, confusing for left-handed children.
I attempted to make my own with existing tutorials, but encountered some practical challenges:
- Limited Language Support: I couldn't find templates for the Romanian alphabet.
- Time-Consuming and Skill-Intensive: Cutting letters from actual sandpaper is time-consuming and requires skill for consistent results.
- A Mess to Use: Tracing the letters with glue and sprinkling salt or sand to get the rough texture is a nice idea - in theory. In practice, you're looking at a lot of salt or sand sprinkled all over your house.
- Warped Paper Woes: Glitter glue sounds clever, but often fails. When glue dries on regular paper or printer-compatible cardboard, it warps, negating the tactile contrast essential for Montessori letters.
- Free-hand inconsistencies: Using glitter glue directly on thick cardboard panels avoids warping, but requires free-handing the letters, making consistent, professional results difficult.
That's why I created the LinguWhee letter templates and a streamlined process to bring them to life.
The LinguWhee Solution
Precision Meets Practicality
In addition to supporting different alphabets, having an option for left-handed children, including all the phonograms, and ensuring a consistent result, I also wanted:
- 📏 A triline writing guide to help my kids get a sense of proportions of the letters
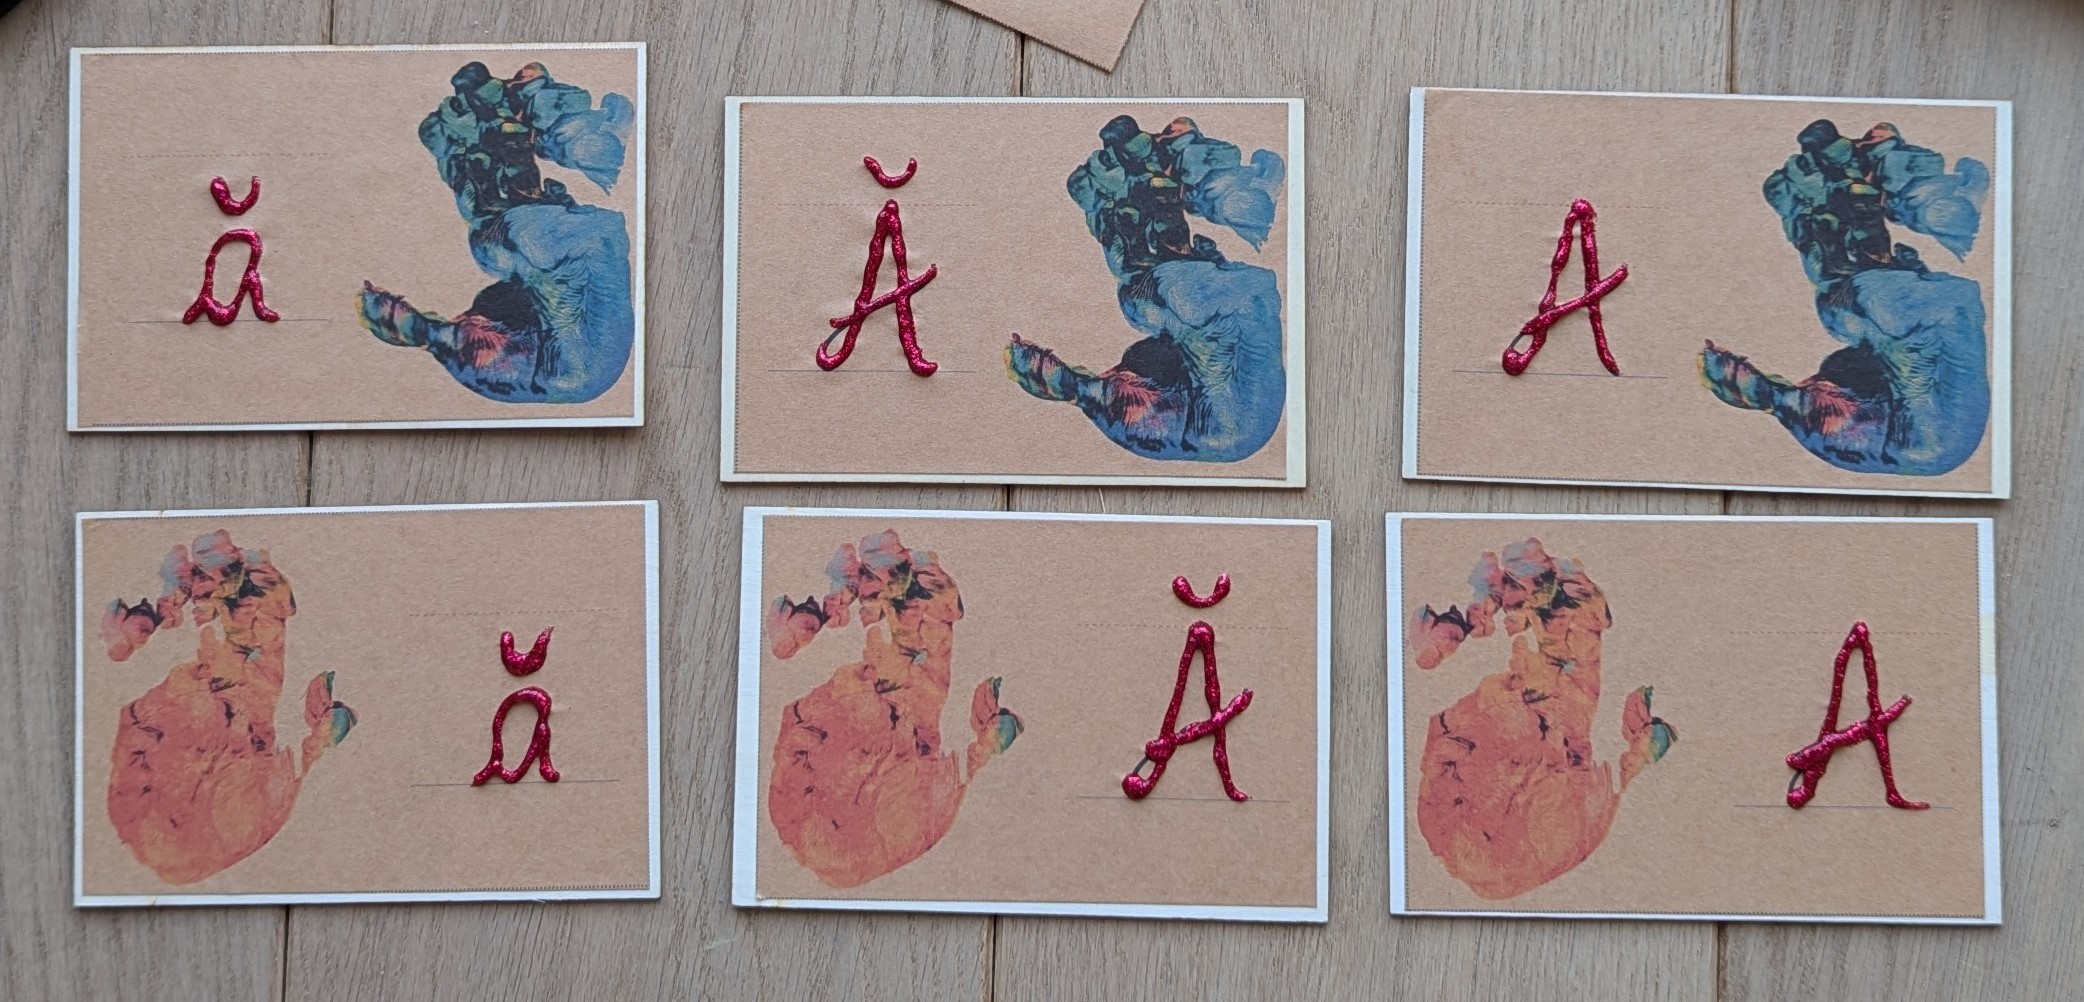
- 🖐️ A fun handprint to remind them to hold the panel when tracing (they constantly forget to do so if it's not there, and can't resist placing their hand on the handprint drawing when it is present)
- ✂️ Easy to cut - that means having visible cutting guides with width equal to the thickness of my guillotine cutter gutter
- 📄 As little cutting as possible (if the panels are aligned on two sides all the way to the edge of the sheet I'm printing on, then that's 2 edges I don't need to cut)
I opted not to colour-code the background as I felt that would have been too much - both on the ink consumption and on the visual effect.
Here's my take on the Montessori 'Sandpaper' Letters

What You'll Need:
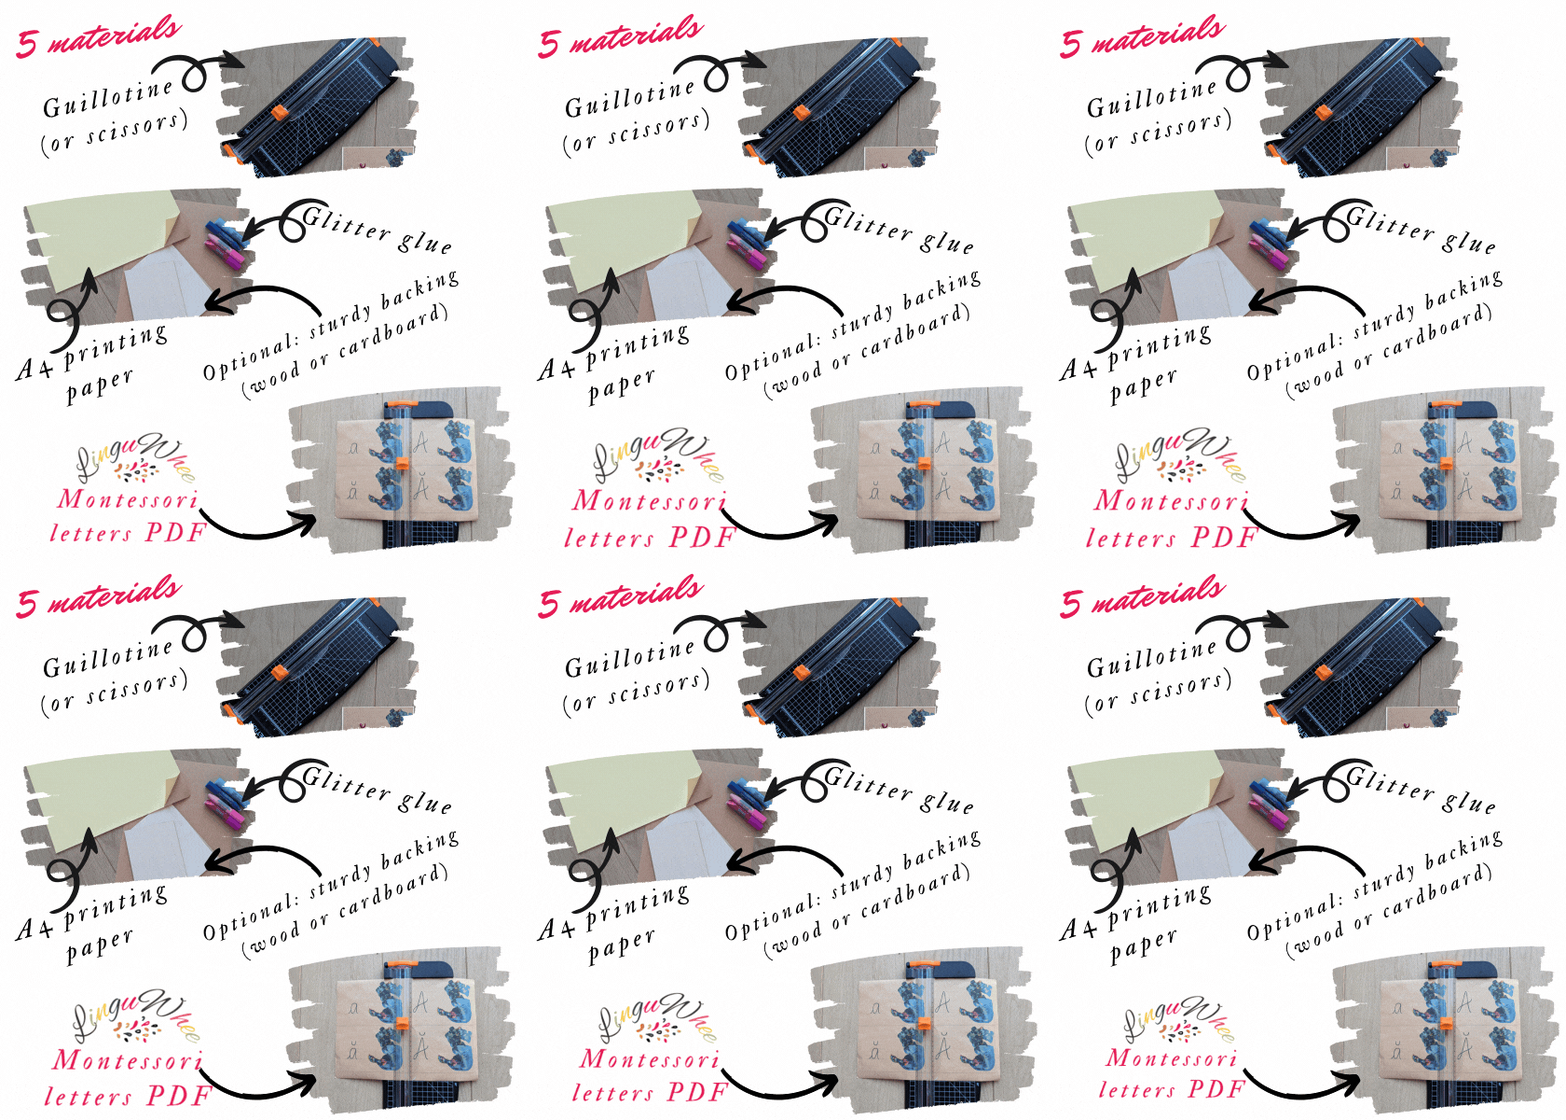
- LingWhee's Printable Letter Templates (PDF)
- A4 Label Paper
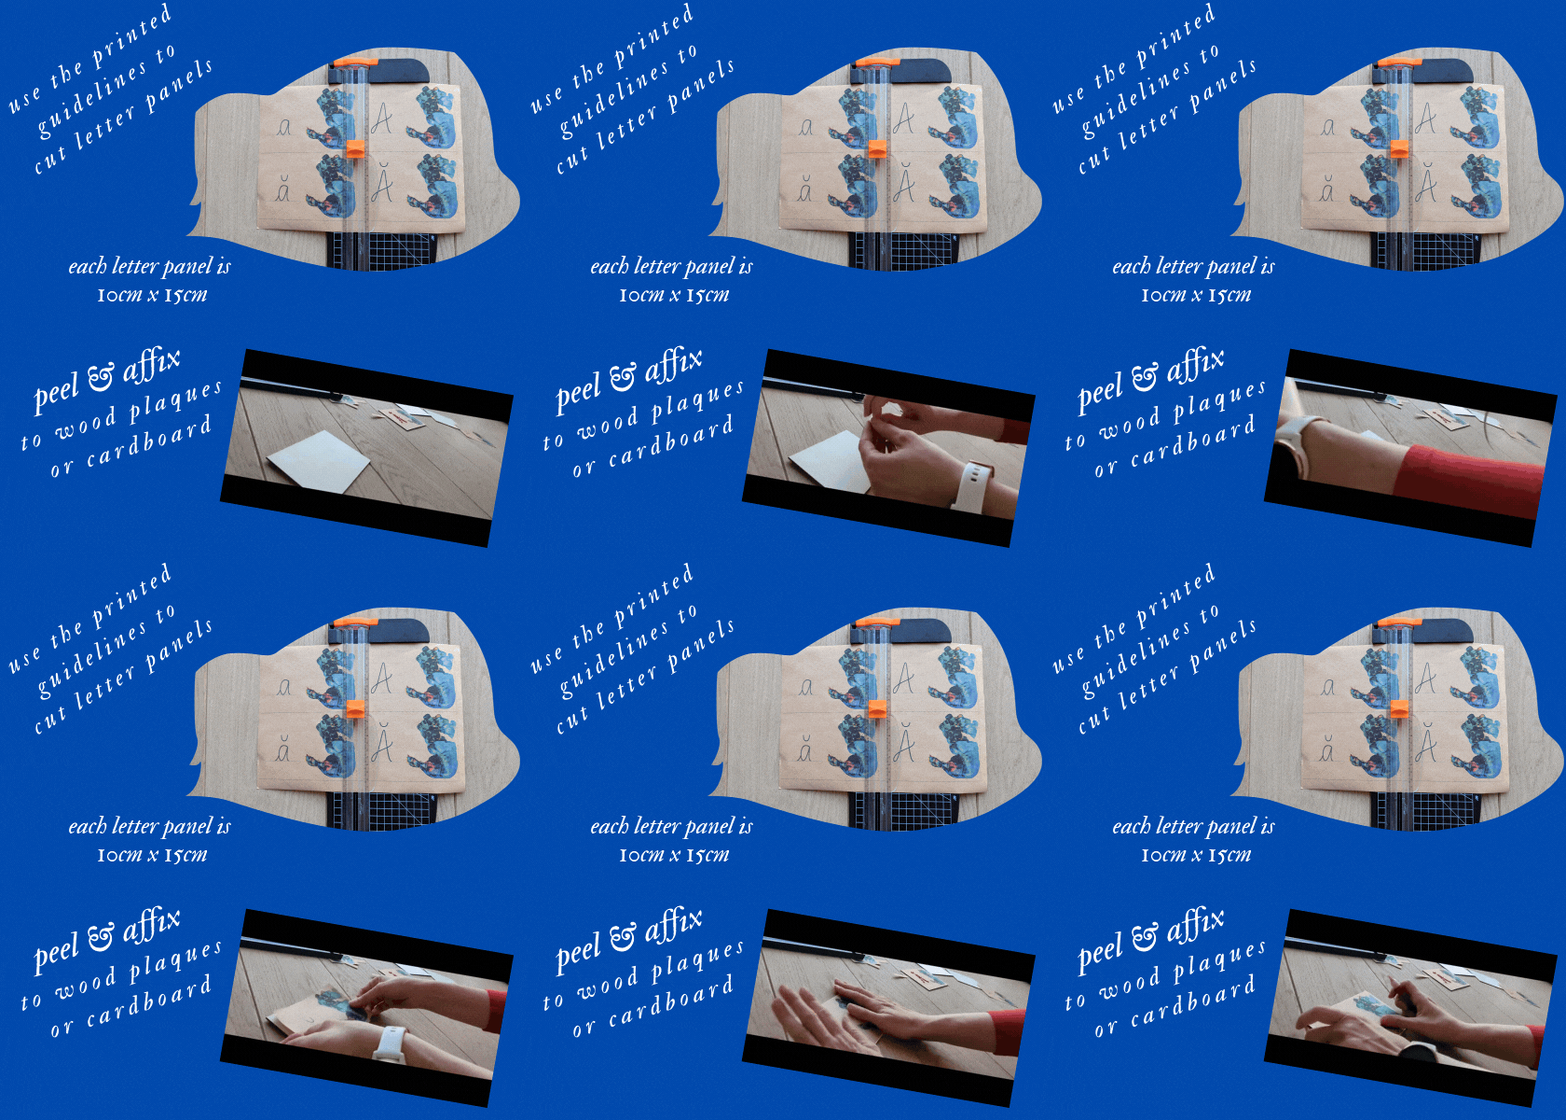
- Wooden Plaques or cardboard panels cut to size (10cm high by 15cm wide)
- Glitter Glue - pen-shaped bottles/containers work best, allowing you to easily write over the printed letters. Smaller is better as the glitter tends to cluster in a larger container, resulting in uneven texture
- Paper Guillotine - a real time saver
When you buy one of my templates, you'll receive, via email a PDF file containing the complete alphabet in your chosen language. See sample pages here. Each sample page has a footer describing which language and handedness is represented.
The Process:
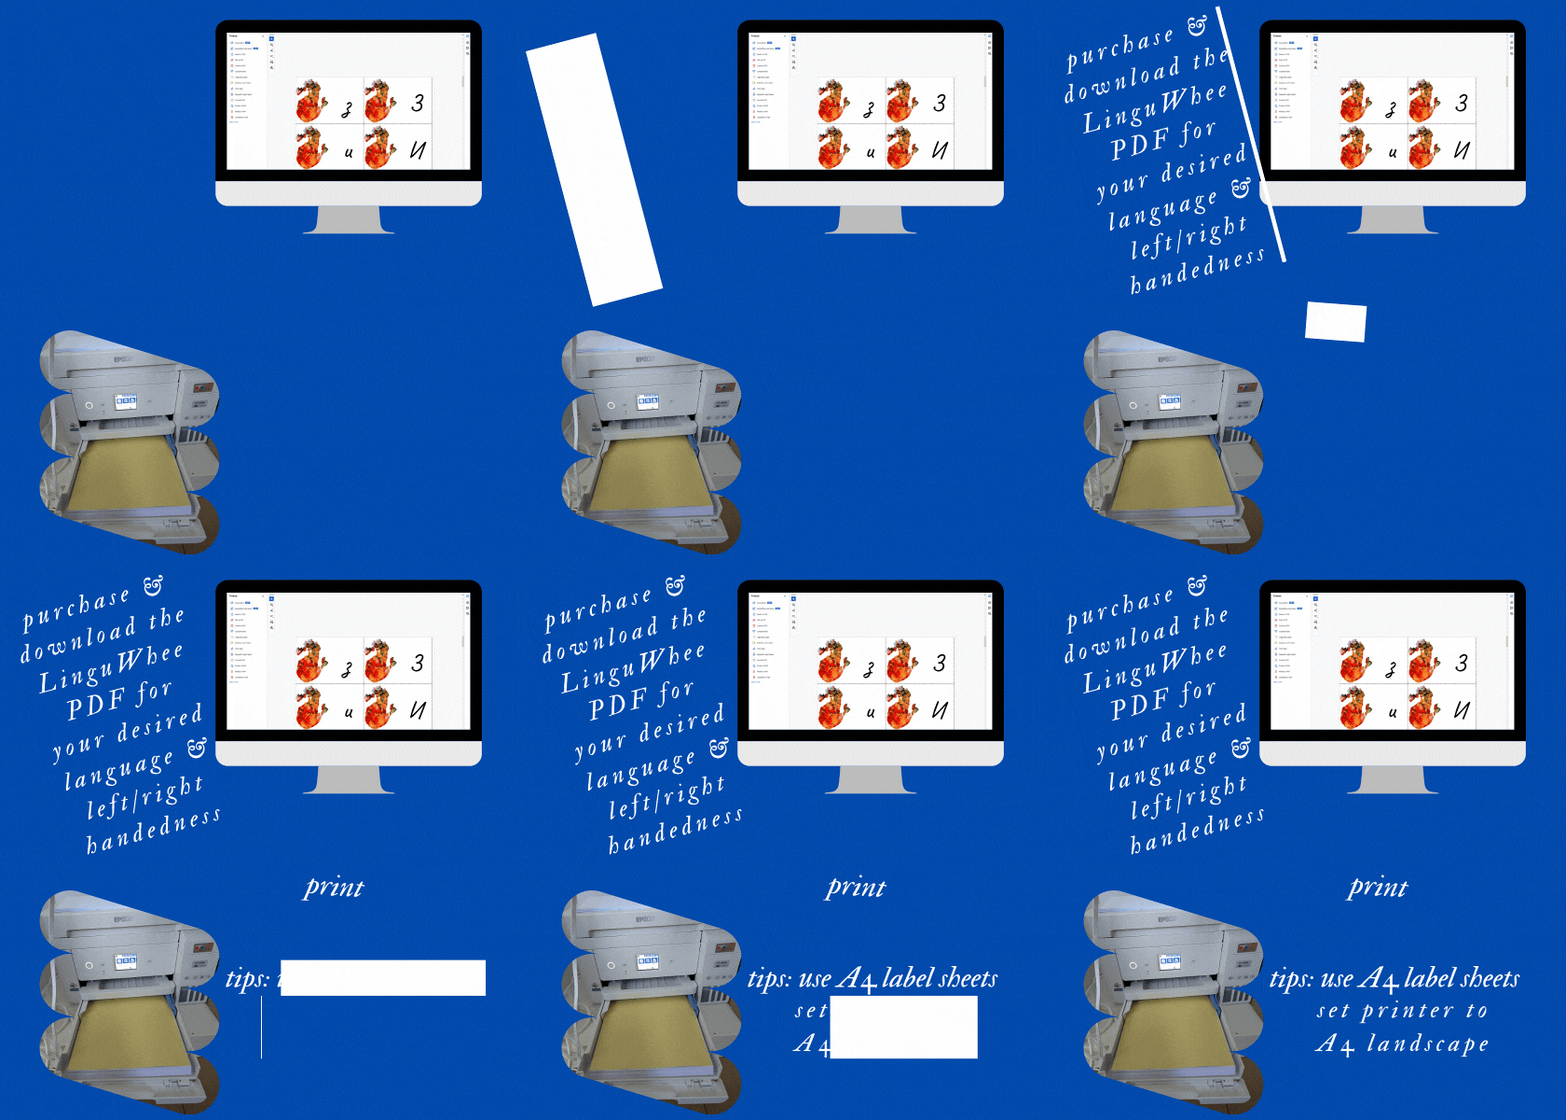
- Get the template: Purchase and download the LinguWhee letter template that corresponds to your desired alphabet and handedness (right-handed child or left-handed child)
- Print: on A4 label paper
- Cut & Apply: Cut along guidelines and apply labels to wooden plaques or cardboard panels
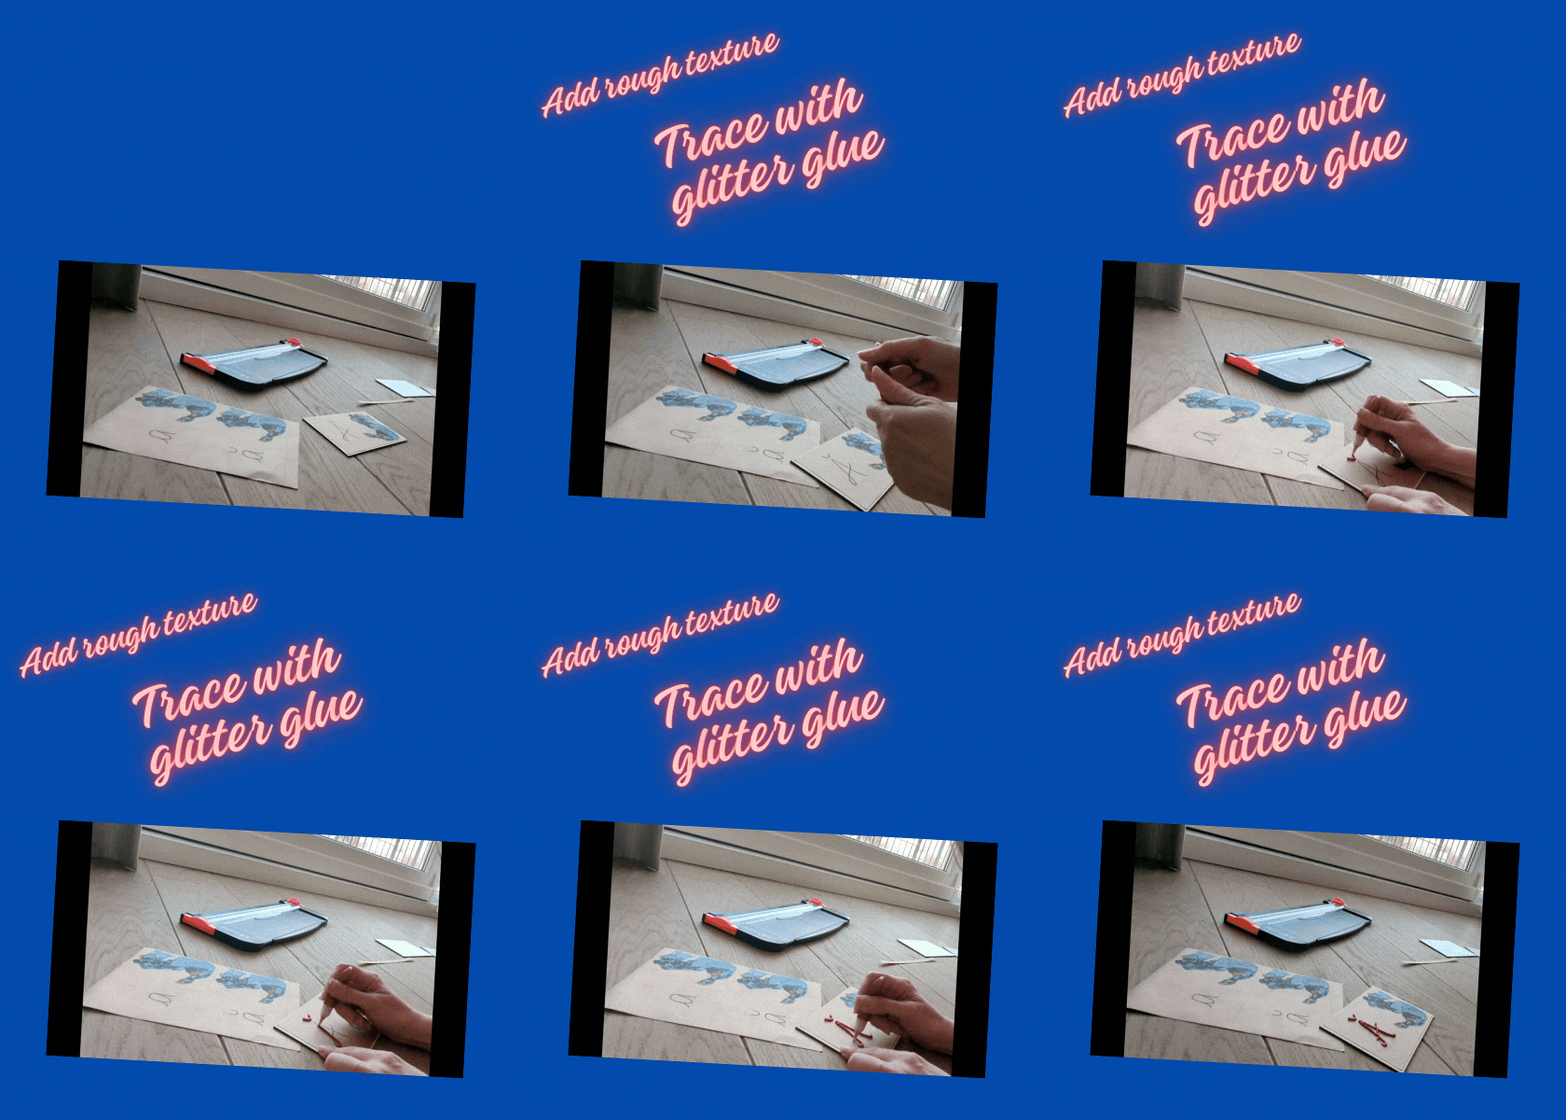
- Trace: Use glitter glue pens to trace letters
- Use: Let dry and start learning!
You can see the steps in action in this demo video.
Watch the complete process: from printing templates to creating finished Montessori letters with glitter glue. This method produces professional results in any language while being cost-effective and easy to replicate at home.
Customization Options
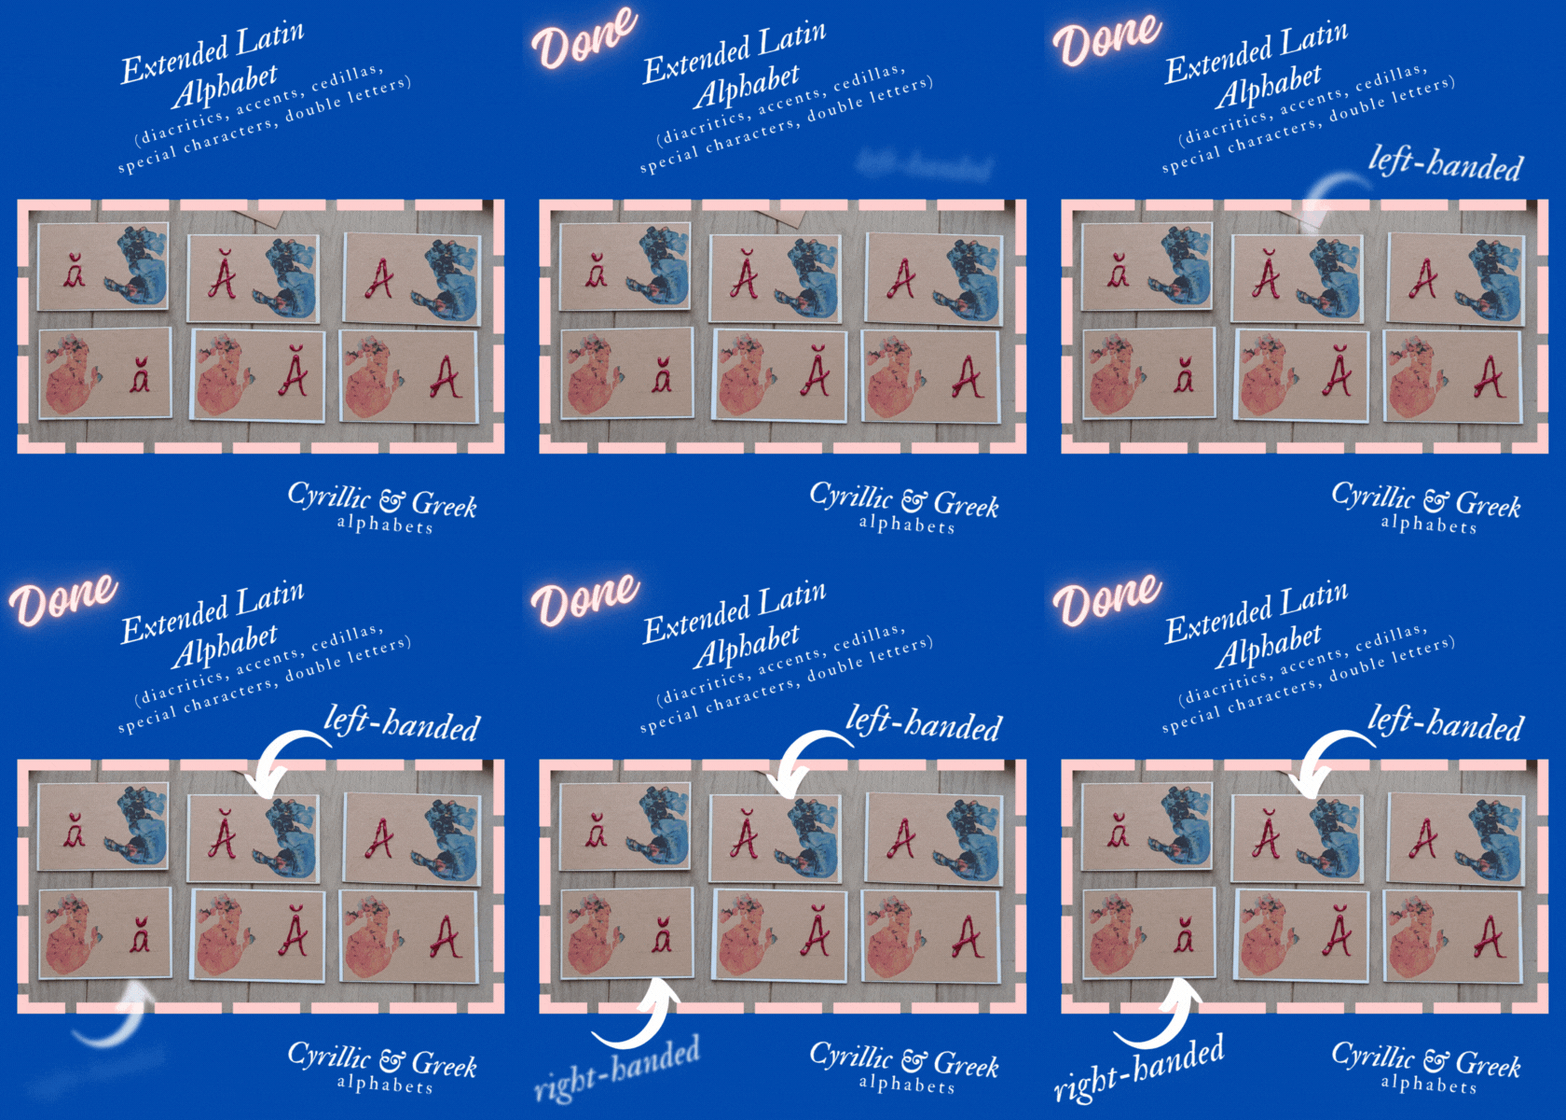
The PDF templates offer several customization options. Look for your alphabet and handedness option on the products page. We currently have templates for Romanian, Hungarian, French, Greek and English.
If you require a language not currently supported, wish to remove (or replace) the handprint or triline writing guides, want the pink/blue/green coloured backgrounds, or need a specific sheet size (A5, Letter, Legal, etc.), simply email us at heretohelp@linguwhee.com with your request. Yes, you read that right - we can even replace the handprint image with one of your choosing. So if you have a picture of your own child's handprint, we can put it on the letter panels.
We'll do our best to generate a tailored template to meet your exact needs.
Pro Tips
- Use fine-tip glitter glue pens rather than large tubes for more even glitter distribution
- Smooth the labels thoroughly when applying to prevent air bubbles
- Consider using brown/wood-colored label paper to preserve the look-and-feel of wood panels
- Allow glitter glue to dry completely before use
- Store letters flat to maintain their shape
Use it
How to use your new Montessori glitter glue letters
Place one hand on the handprint to hold the letter panel. With your writing hand, trace the letters and say the sound. Trace the letters in the way that you would normally write. For example, for the core Latin alphabet, you would trace the letters in these directions:
Core latin alphabet cursive letter tracing directions.
Source: American Philosophical Society Library & Museum
Download the PDF here
Let's discuss!
Future meeting place of ideas.